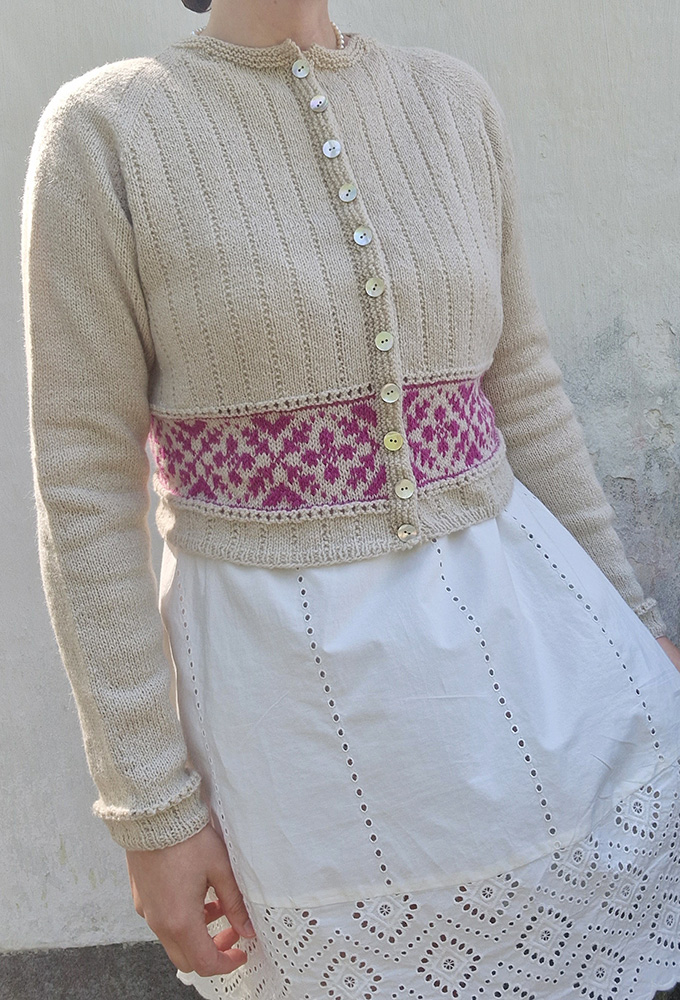
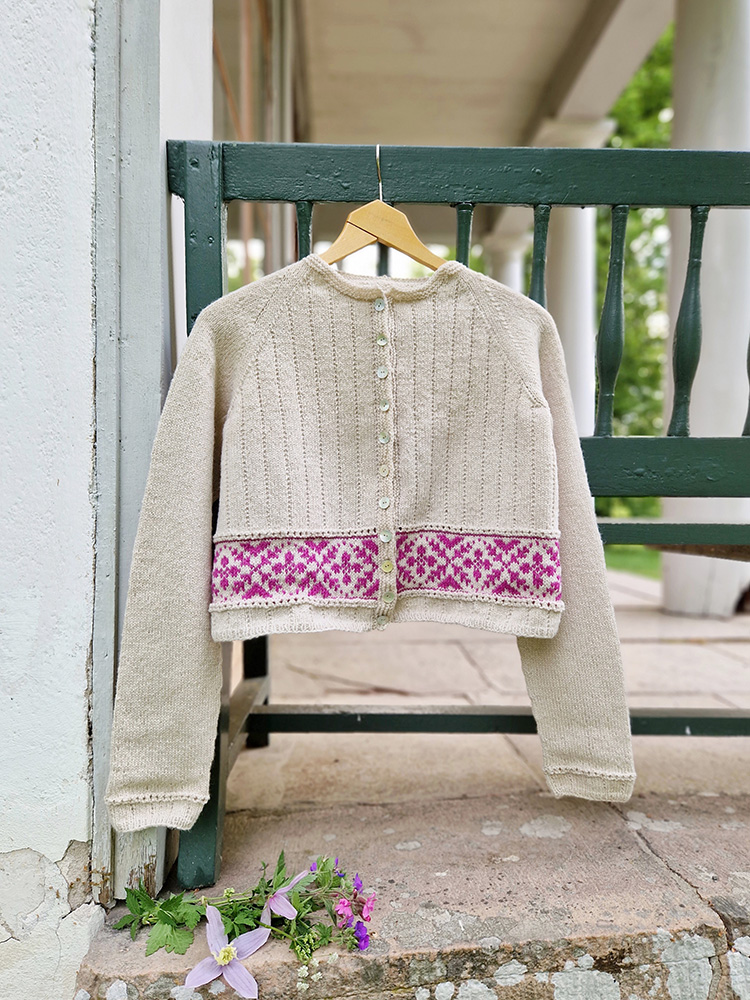
Sommarkoftan 2023 PART: 3 (english)
PART 3: front bands, neckband, steek, and finishing.
We’ve now been knitting together for three weeks and we are so happy that you have joined in. In part 3, we’ll work on the last three small but important steps needed to finish the cardigan before it’s ready to wear.
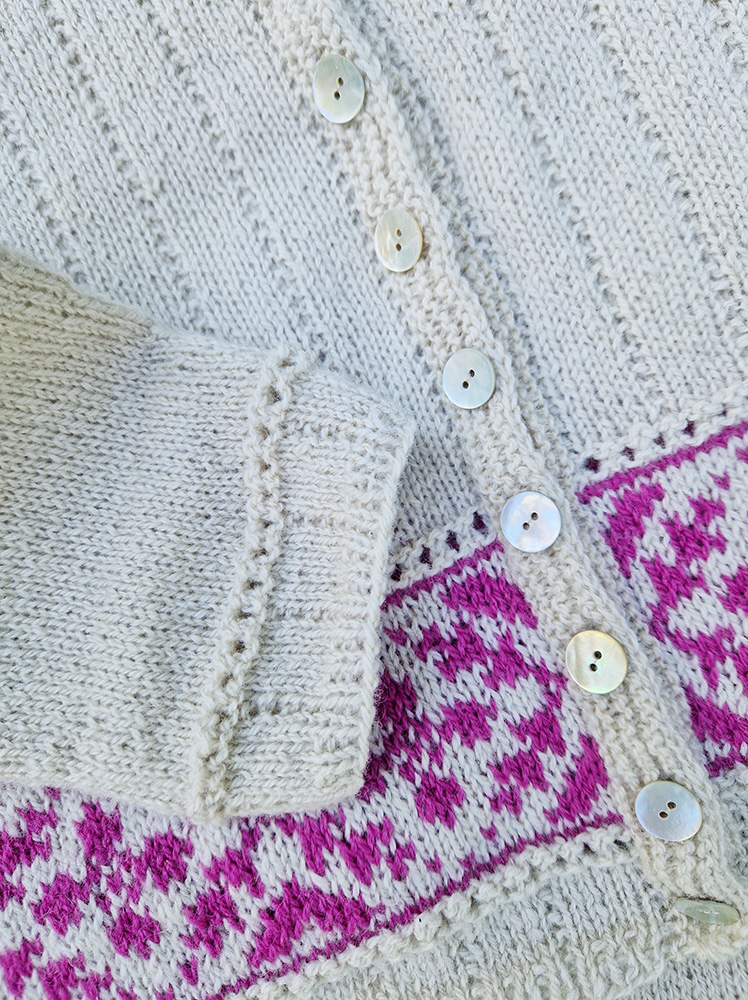
FRONT BANDS
Before your cardigan can be cut open, you’ll knit on the front bands. The bands lock in the stitches up the edge, which makes cutting the steek easier. The center steek stitch stands out more clearly when framed by the bands.
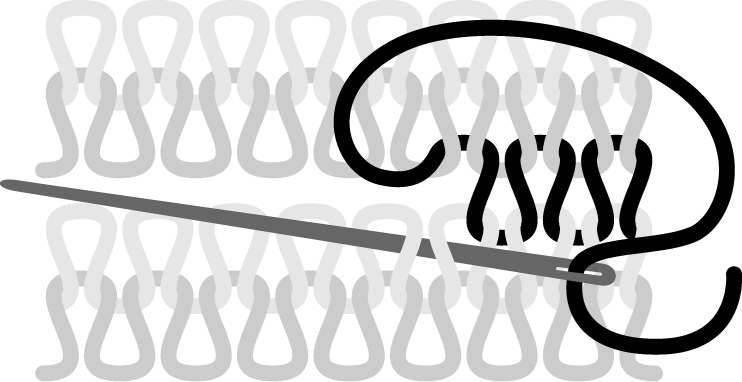
Video: How to pick up stitches for the bands.
So the front bands will be neither too tight nor too loose, pick up and knit 3 stitches for every 4 rows along the edge; in other words, skip every fourth row when you pick up and knit stitches. However, at the beginning or end of the band, when picking up stitches in the ribbing, you can pick up 1 stitch in every row so that the outer ends of the band will not be too tight.
Spacing the stitches evenly
The pattern specifies the number of stitches to pick up – these stitches should be spaced evenly across the band. If you follow my recommendation above (picking up 3 stitches for every 4 rows), the stitches should be well-spaced. To make it easier to keep track of the spacing, divide the band into four even sections. Mark the sections with pins: first in the middle, and then in the middle of each half. This way, you can see if you’ve picked up a fourth of the total stitch count when you get to each marker. Work the bands following the pattern instructions. Don’t forget to make the buttonhole band on the right front edge.
NOTE Because the front bands are knitted in garter stitch (a structure that is slightly wider then stockinette and ribbing), you’ll need to decrease on the bind-off row. This will make the edge more stable.
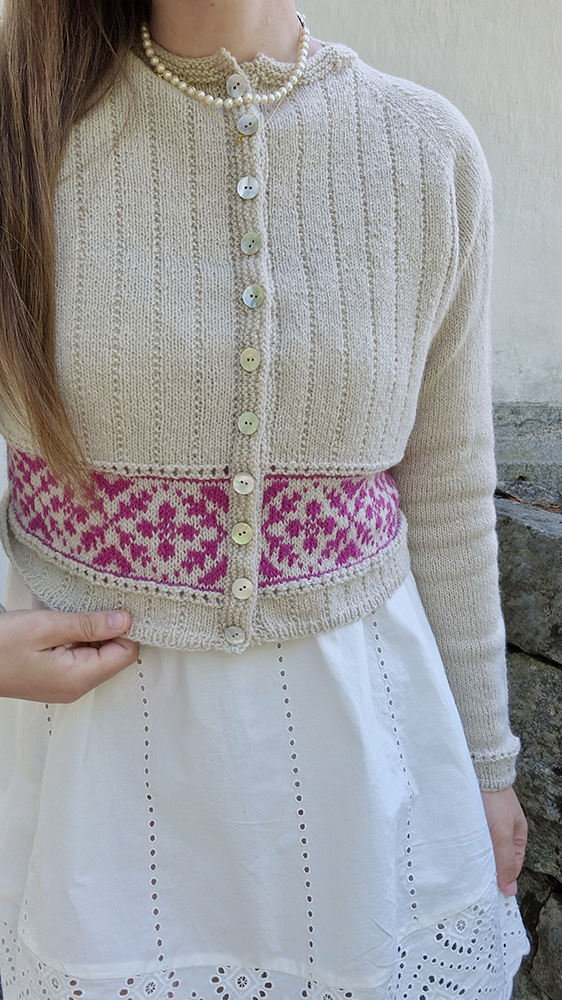
NECKBAND
Pick up stitches and knit the neckband following the pattern instructions.
REINFORCING THE STEEK AND CUTTING IT OPEN
When the front and neck bands are finished, it’s time to cut the front of the cardigan open. First, prepare the cutting line by sewing reinforcement seams on each side of the center steek stitch.
Sewing reinforcement seams
I always sew my reinforcement seams by hand with regular sewing thread and a sewing needle. That way, I have good control over the knitted fabric, which means that I can avoid pulling on the fabric or wrinkling it in some way. Sewing by hand gives me a flexible and correctly-placed seam, using an easy and neat method. I also think that hand sewing is a very pleasant task!
Make a reinforcing seam on EACH SIDE OF THE CENTER STITCH (= 2 reinforcing seams total). (Center stitch = the stitch in the middle of the steek, i.e., the one you will cut into.)
Video: Sewing the seams with BACK STITCH
Cutting the steek
Once you’ve made the reinforcing seams, it’s time to cut the steek open.
Work as follows:
1. Place the sweater on a flat surface where you’ll have ample space for moving around.
2. Use sharp, fine sewing scissors for cutting.
3. Work slowly and methodically as you cut so you have control over what you are doing.
4. Use your left hand (or right hand if you are left-handed) to follow along and support the fabric as you cut, so, throughout, you can see that the front pieces are separate from the back. You do not want to risk cutting into the back of the sweater.
5. Cut the steek by following the line in the center of the middle stitch.
Tip: If you want to completely separate the front and back from each other while you cut, you can slide the sweater onto an ironing board. (Slide the bottom edge on first, so that lower band is approximately in the middle of the ironing board and the neckband is at the narrow end of the board.)
Now you also have a flat surface for working on.
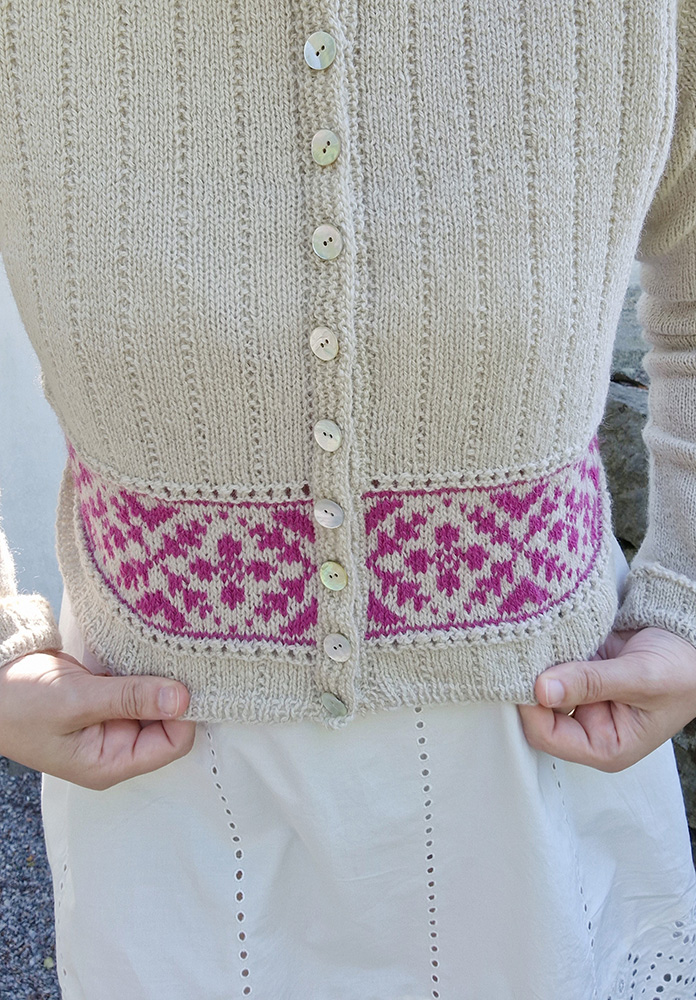
FINISHING
Finish by sewing on all the buttons, matching spacing of buttonholes, and then weave in all ends neatly on the wrong side. You can also use yarn, a tapestry needle, and duplicate stitches to close up any small holes on the underarms.
The cut steek edges will roll up towards the inside of your cardigan so you can either sew them down towards the back, using yarn, a tapestry needle and small, discrete whip stitches. Or, cover each cut edge by sewing a pretty ribbon over it.
If you are sewing ribbon over the band edges, it is important that both edges are the same length, so neither of the edges sticks out more than the other when the ribbon is sewn on. First of all, the ribbon should be cut into two equal lengths. Measure the length of the cut edges, holding the edges slightly stretched. Then add ¾ in / 2 cm seam allowance to each end (a total of 1½ in / 4 cm).
Pin both ribbons on the inside of the cardigan so they cover the cut edges and then fold them double over each end. Sew the ribbon down with needle and thread using small, discrete stitches throughout.
WASHING AND BLOCKING
Block/wet-block your cardigan.
A great and warm thank you for participating in the Summarkoftan 2023 KAL with us!
With best wishes from Maja and the Järbo team!