

Summercardigan 2022: Part 1
Hello and Welcome!
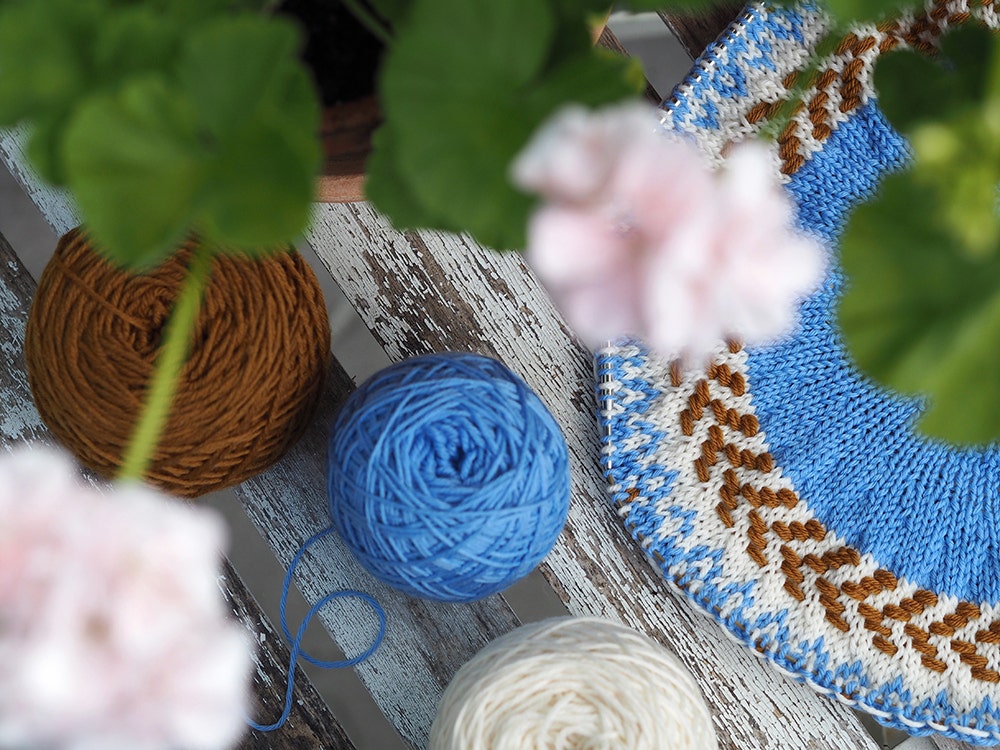
Now it’s time to cast on for the Summer Cardigan 2022. Download pattern here >> We’ll begin with the patterned yoke – because the cardigan is worked from the top down.
Before you begin, you should have knitted a gauge swatch to make sure that your gauge is correct, matching that given in the pattern. You should also have measured yourself and chosen your size. Have you done that? Good – let’s go!
TO CAST ON
The stitches are cast on with the classic long-tail cast-on, the technique you most likely learned in your beginning knitting class.
RIBBING
The ribbing is worked back and forth, as instructed in the pattern.
KNITTING IN THE ROUND
After you finish the ribbing, join the piece into a circle so you can continue knitting in the round. It is common to work this way when you knit cardigans with colorwork patterns because you will have a stockinette structure with all the rounds knitted. Working around in two-color stranded knitting with the knit stitches on the right side is easier than purling on the wrong side!
STEEK
So that your sweater will be a cardigan rather than a pullover, you’ll need to “open” the center front with a “steek” – and, to make it possible, you’ll cast-on some extra or steek stitches between the two parts of the front. The steek is in place so you can later cut it up the center stitch to open the front without hurting the body of the cardigan. The Summer Cardigan has 7 steek stitches. NOTE The steek stitches are not included in any stitch counts, but are in addition to those counts.
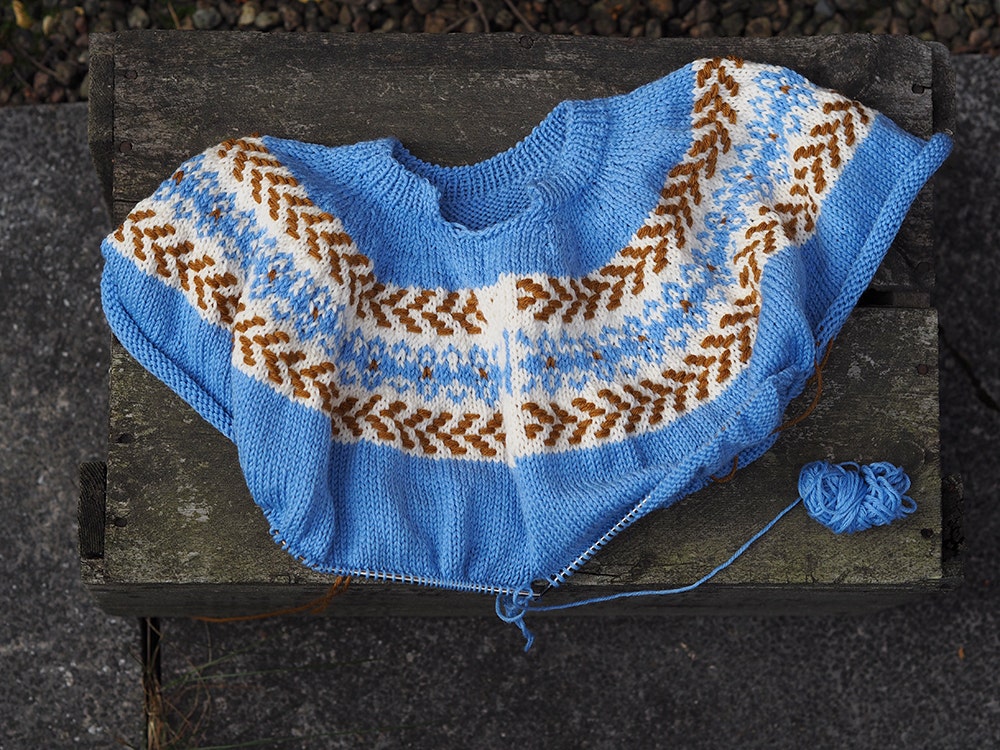
INCREASES AND INCREASE ROUNDS
Now begin the yoke. So the yoke will expand as you knit, increase rounds are spaced evenly down the yoke. The increases are made with an invisible increase technique –
the “right lifted increase” = RLI.
Follow this link to see how the increase is made.
Keep in mind that the second stitch of the increase (that is, the stitch knitted as usual) is part of the increase! You should not include it when counting the number of stitches between increases.
Technique Tip: Be careful when you knit into the underlying stitch! Do not pull or stretch it but “hide” the yarn within the stitch. That will keep the increases even and invisible!
Also, remember: NEVER make any increases within the 7 steek stitches!
On the single-color rounds, work the steek stitches with the same color as for the round, and, for rounds with pattern knitting, alternate colors in the steek.
CASTING ON STITCHES WITHIN A ROUND
When I cast on stitches within a round, as, for example, steek stitches, I use the double loop method. By twisting the loop twice, instead of once as is usual, you’ll build a firm lower edge to support the work and make it easier to handle.
Also, I think it is easier to pick up and knit new stitches in the double loop edge, as for example, we’ll do when it’s time to pick up stitches for the underarms.
Follow this link to see how to make a double loop cast-on.
PATTERN PANELS
This cardigan has yoke pattern panels with Roositud (an Estonian knitting technique) and two-color stranded knitting.
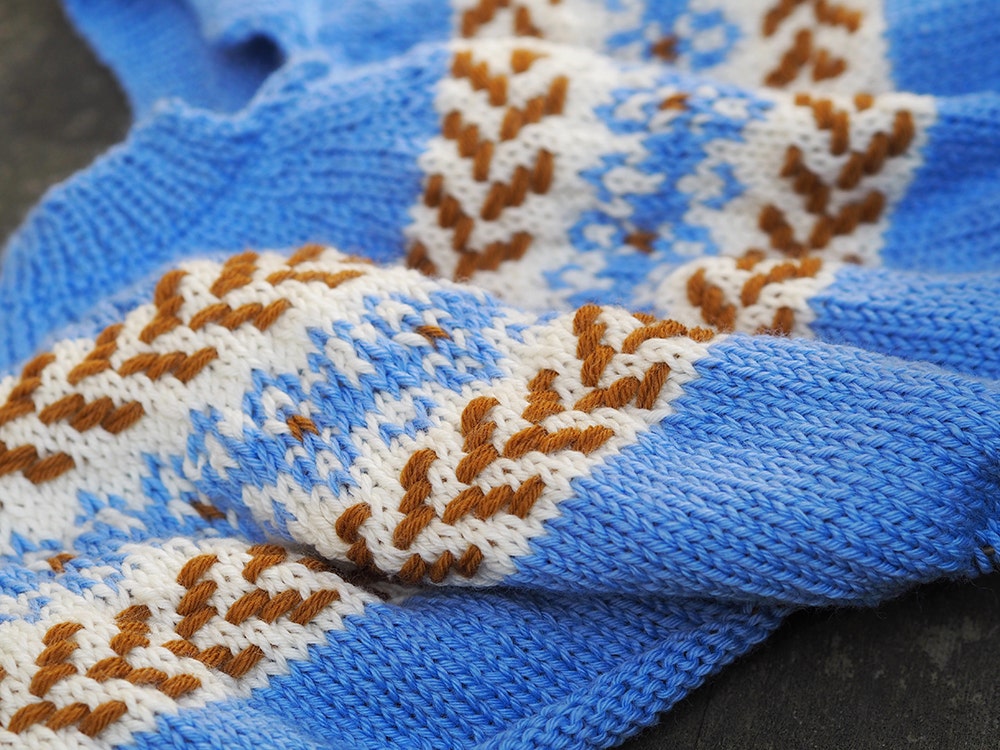
ROOSITUD
Roositud is an inlay technique. You use it to form a pattern by laying the yarn at the front and back of the piece, so it looks like a woven or embroidered “stitch.”
Use a doubled yarn when forming a Roositud motif so the pattern will stand out well. Think of the two strands as building an “inlay” which will always run under the yarn you are knitting with. (Otherwise, the pattern will be uneven.)
Follow charts A and C “as usual,” but, instead of knitting stitches in color 3, lay the yarn in front of the work and let it strand across as many stitches as shown on the chart.
I demonstrate the technique in this video:
TWO-COLOR STRANDED KNITTING
When it’s time to knit the colorwork on the yoke (chart B), it is important that you follow the instructions for placing the pattern for your size. That way, the pattern will be centered and symmetrically placed in relation to the other pattern panels. NOTE Always read the chart from right to left.
If you know that you knit colorwork more tightly than plain stockinette, I recommend that you go up a full U. S. or half metric needle size (or more, if necessary) while you work this section. I also recommend that you double check to insure your gauge is correct by making a gauge swatch before you begin knitting the sweater!
Part 1 of the Summer Cardigan is finished once you reach the section DIVIDE FOR BODY AND SLEEVES. We’ll begin with this step in Part 2!
We warmly wish you luck with your cardigan knitting! If you have any questions, you are welcome to post them in our common Facebook group: “Sommarkoftan 2022”
Psst! Join our Facebook group Sommarkoftan – where we’ll share photos, tips and inspiration.
Post your work on Facebook and Instagram (@jarbogarn). Don’t forget the hashtag for your post with #sommarkoftan 2022